
![[OPEN BOX ITEM] 3.0 in Downpipe | 2015-23 Ford Mustang EcoBoost 2.3T (14344)](http://www.corsaperformance.com/cdn/shop/files/14344-2015-2019-ford-mustang-ecoboost-downpipe-3-0-sport-to-xtreme-14344-downpipe-745179021328_63440e1a-d143-4f51-9a01-bbec5072ab45.jpg?v=1688997809&width=104)
![[OBSOLETE] Shielded Box Air Intake | 2011-2015 Cadillac CTS-V 6.2L V8 (415864)](http://www.corsaperformance.com/cdn/shop/products/415864-2011-2015-cadillac-cts-v-6-2l-v8-pro5-air-intake-415864-air-intake-2589524787314.jpg?v=1621866859&width=104)
![Pro Series Muffler (3.0" and 2.5") [MULTIPLE CONFIGURATIONS]](http://www.corsaperformance.com/cdn/shop/products/CP30CTR_lowres_1.jpg?v=1692361215&width=104)
![[CLOSE OUT] Black / CORSA Men's T-Shirt | Exhaust Tips](http://www.corsaperformance.com/cdn/shop/products/IMG_0485_edit_square.jpg?v=1709830722&width=104)

![[CLOSE OUT] Varsity / CORSA Women's Full Zip](http://www.corsaperformance.com/cdn/shop/products/IMG_0456_edit6copy_square.jpg?v=1628686742&width=104)


The Corvette C7 is arguably one of the market's most powerful American-made sports cars. With an Aluminum 6.2L V8 engine capable of producing enough power and speed to go from 0 to 60 mph in 3.7 seconds, the thrill of sitting behind the wheel is enough to make any driver fall in love. But even with all that power right off the factory floor, performance enthusiasts are constantly looking for new ways to take their ride to the next level. There are numerous modifications out there that can help enhance style, power and performance, and a cold air intake for the C7 Corvette is one of the best.
While performance headers and exhaust systems require a deeper understanding of mechanical systems for DIY installation, installing a cold air intake is far less complicated. However, it's still good to know how to install a cold air intake for a C7 Corvette before you give it a shot. This article will walk you through the 12 simple steps to installing a brand-new C7 Corvette cold air intake.
NOTE: This is a brief overview of the installation process. You should always follow your model-specific instruction manual, or follow installation steps directly from the Corvette cold air intake manufacturer.
Table of Contents

Recommended Tools & Supplies to Install a Cold Air Intake for a C7 Corvette:
- 7mm Socket & Ratchet or Nut Driver
- 8mm Socket & Ratchet or Nut Driver
- 10mm Socket & Ratchet or Nut Driver
- Ratchet Extension
- #2 Phillips Screwdriver
- Torque Wrench
1. Remove the Radiator Air Duct
The first step to installing a cold air intake for the Corvette C7 is removing your stock setup. To start, you'll need to locate and remove the four screws that secure the radiator air outlet duct. You can use a 7mm socket and ratchet or a nut driver. Keep the four screws secure – you'll need them later in the installation process.
2. Disconnect the Oil Breather Hose(s) & Stock Air Tube
Next, you'll need to locate the oil breather hose(s) found on the stock air tube. You can remove these by squeezing the gray clip found on the fitting and pulling it from the stock air duct.
Note: A Z51-equipped Corvette C7 has one oil breather hose, while non-Z51-equipped vehicles have two.
3. Remove the Stock Air Box
From there, you can locate and remove the two screws that secure the stock air box to the fender with a 10mm socket and ratchet or nut driver. To fully remove the stock air box, you must carefully pull on it to release the remaining mount. Ensure all your mounting hardware is in place on the stock air box – you'll need them to install your new Corvette C7 cold air intake.

4. Transfer the Hardware to the New C7 Corvette Cold Air Intake
Before you do anything else, take note of the orientation and the position of the stock mounting hardware from the factory air box. Then, carefully remove them and assemble them into the new C7 Corvette cold air intake in the same orientation and position. Transferring the mounting hardware from the stock air box makes installing a cold air intake for the C7 Corvette a bolt-on job.
5. Install the New Housing
You're finally ready to begin the installation process for your Corvette C7 Cold air intake at this stage. First, you'll need to push the lower rear mount of the housing onto the stud located on the fender. Using a 10mm socket and ratchet, tighten the bolts. Ensure you tighten the bolts to the appropriate amount of ft-lbs. with a torque wrench.
6. Install the Air Filter
To install the air filter in your new C7 Corvette cold air intake, you'll need to ensure the clamp is adequately seated. Then, slide the filter and clamp onto the cold air intake's air duct.
Torque the clamp down using an 8mm socket and ratchet or nut driver. After ensuring the gasket is in place on the air box opening, carefully insert the air duct and filter into the air box. It's essential to double-check that the gasket between the air box and the air duct is not pushed into the air box. When properly installed, the filter and clamp will not be visible.
7. Remove the MAF Sensor and Install It Onto the New Air Duct
Your next step in this process is to remove the mass air filter (MAF) sensor from the stock air duct. Simply pull the red clip on the MAF sensor plug and squeeze the black tabs under the red clip to release it. Then you're able to remove the two MAF screws to remove them. You will not need to reuse the screws.
From there, you'll be able to insert the MAF sensor into the new air duct and install the screws using a #2 Phillips screwdriver. Torque them to the appropriate ft-lbs.

8. Reconnect the Oil Breather Hose(s)
You're getting close! Only a few simple steps left. At this point, you'll be able to fully insert the fittings back into the stock oil breather hose(s).
9. Install the Silicone Sleeve Onto the Air Duct
Next, insert the silicone sleeve onto the air duct, then slide the two clamps over it.
10. Install the Silicone Sleeve Onto the Throttle Body
Then, you can insert the silicone sleeve directly onto the throttle body. With an 8mm socket and wrench, torque down the hose clamps.
11. Reconnect the MAF Sensor
After connecting the throttle body, you can fully reconnect the MAF sensor. To reconnect the MAF sensor harness, push the plug back onto the MAF sensor. To lock it into place, push the red clip down.
12. Reinstall the Factory Radiator Air Duct
The final step to installing your C7 Corvette cold air intake is to locate and secure the radiator air outlet duct and its four stock screws. Torque the four screws back down with a 7mm socket and ratchet or nut driver, and you're finished!
Congratulations! You've just learned how to install a cold air intake for the Corvette C7. Before you hop in the driver seat and test it out, be sure to review the routing of all the hoses and the location of all parts that were moved during the process. Ensure that everything is secure and away from any moving parts.
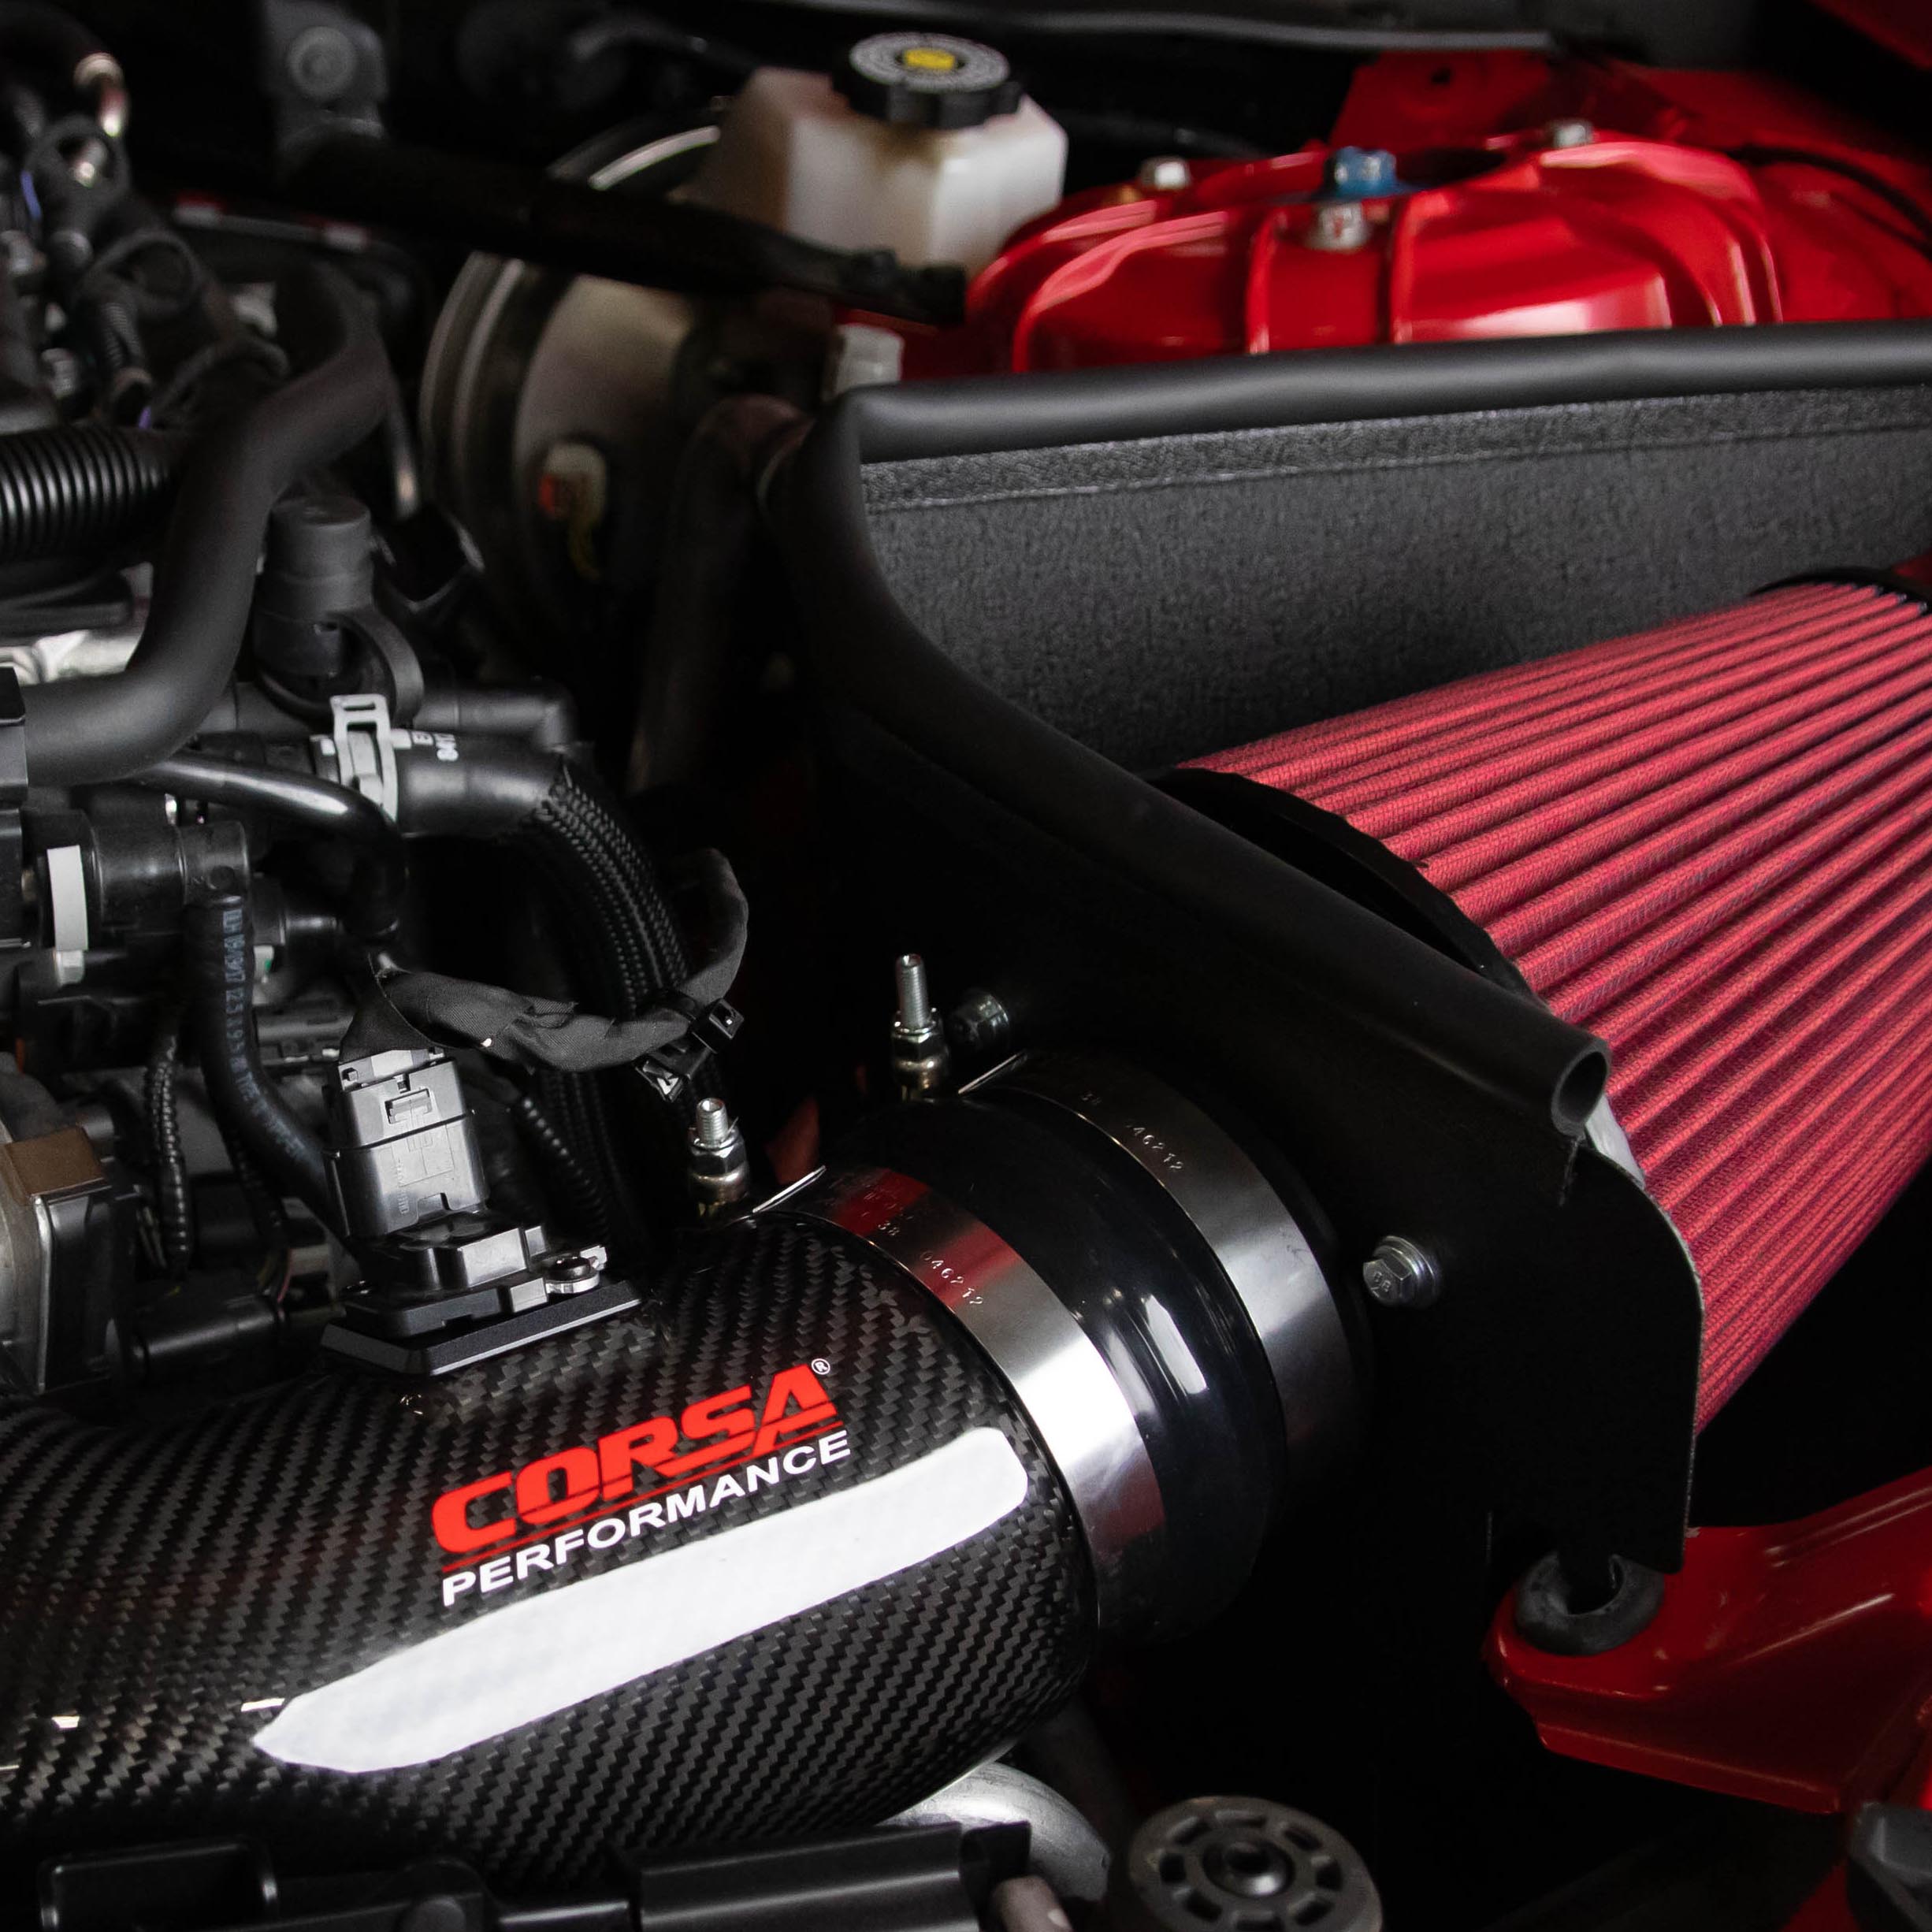
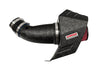
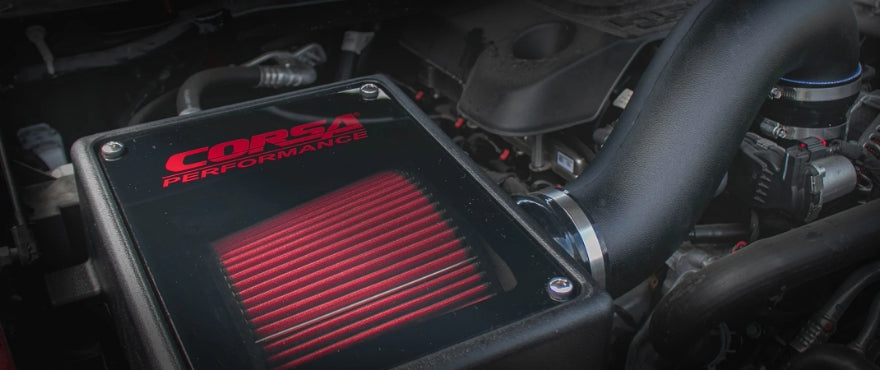
If you're still on the fence about what C7 Corvette cold air intake to choose, check out what our 2015-2019 C7 Red Carbon Fiber Cold Air Intake looks like after installation. Once you finish installing a cold air intake in your C7 Corvette, you'll have this to look forward to.
Find Top-Rated Corvette C7 Cold Air Intakes at CORSA
Now that you know how to install a cold air intake for a C7 Corvette, you'll need the hardware to get the job done. Luckily, CORSA offers the best C7 Corvette cold air intakes in the industry. Pairing aesthetics with unmatched performance, our Corvette C7 cold air intakes are designed to give your ride the maximum level of performance possible. With an optimized shape, high-performance filtration technology and full Dyno tune for maximum results, a CORSA cold air intake for your C7 Corvette can give you an additional 44 horsepower and 70 ft-lbs. of torque while increasing your fuel economy.
If you're the proud owner of a C5, C6 or C8 and you're looking for a cold air intake, don't worry. You can browse our full selection of Corvette cold air intakes to find the right parts for your model. Don't settle for your stock parts. Shop CORSA PERFORMANCE today.
Shop C7 Corvette Cold Air Intakes

